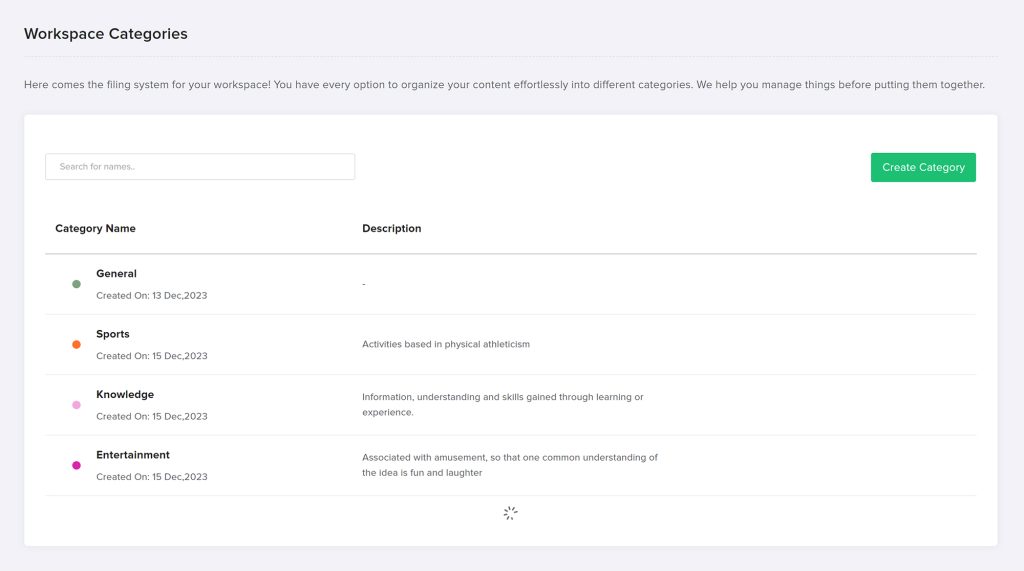
Presenting our advanced filing system, designed to simplify content organization for your workspace. Our intuitive tool allows you to efficiently manage your posts ensuring that everything is in order before you categorize them into different sections. With our system, you can easily access and retrieve your content, saving you valuable time and effort.
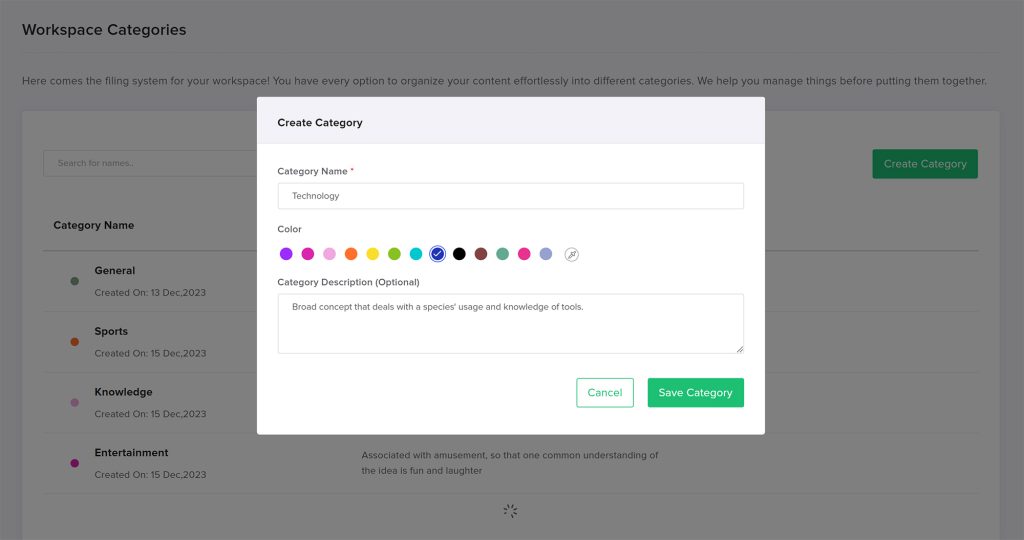
Categories help you with sorting your posts easily. You can create different categories, and edit and search for them on this page. In this article, we will discuss how to create different categories for your posts and how to use them effectively.
Edit and Delete Category
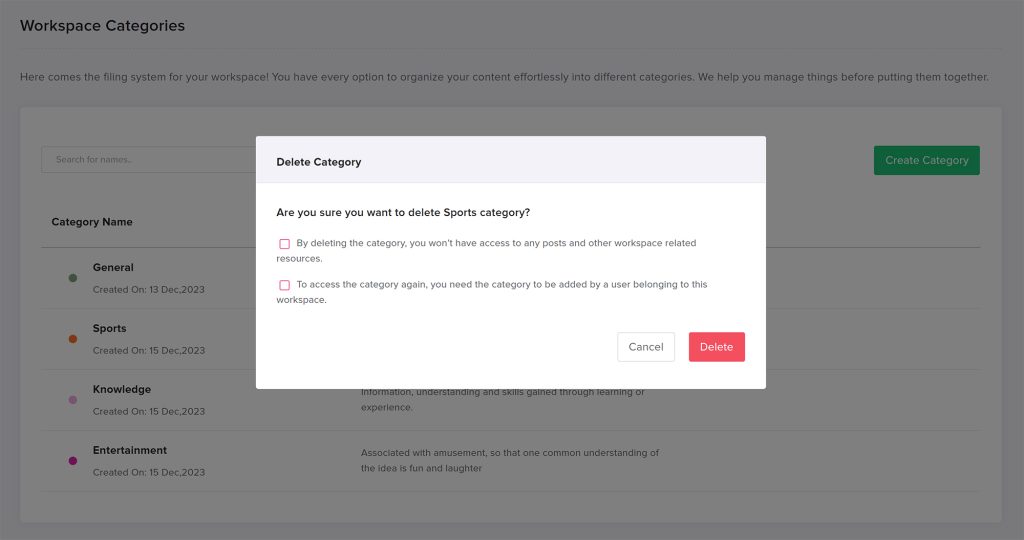
To edit or delete a category, simply hover your cursor at the end of the category name and you will see an “Edit Category” icon. Click on it to make any desired changes.
If you want to delete the category, click on the bin icon. However, please note that deleting a category will result in the loss of access to all posts and resources related to that category. To regain access to the category, a user belonging to this workspace will need to add the category again.
Assigning Categories to Posts
- Once you have created your categories, you can assign them to your posts.
- When you are creating or editing a post, look for the “Categories” section in the top bar.
- Select the category or categories that apply to your post. By this, you can add further posts in the future to that category. It easily helps in filtering the posts on your calendar.


